


If you’ve ever wanted to share something on your screen but weren’t sure how, you’re not alone. Many people take photos of their screens using their phone or camera, but this usually produces a lower quality image. Thankfully, Windows 10 includes many different ways of taking screenshots that capture the contents of your display. You can then save these images and use them however you wish.
Simple Button Shortcuts
Windows includes several different methods to take screenshots.
- PrtScn: Near the top of most keyboards is a PrtScn key that copies an image of the entire screen to the clipboard. To save the screenshot, paste it into any program that can display images, such as Paint or Photoshop, and then save the file.
- Alt+PrtScn: By pressing both the Alt and Prtscn keys, you will take a screenshot of only the active window. You must then paste this into another program.
- Windows key + Shift + S: If you press these three keys together, you can click and drag to select a section of your screen to capture. This feature requires the Windows 10 Creators update.
- Windows key + PrtScn: This key combination saves the entire screen as an image. It should appear in your “Pictures” folder within a “Screenshots” subfolder. Your screen may flash as confirmation that it has saved the screenshot.

Use the Snipping Tool
By default, Microsoft includes the incredibly flexible Snipping Tool in Windows 10. This utility is simple to use and doesn’t require you to paste your screenshot into another program to save it. You can find the Snipping Tool in your Start menu, though you may need to use the Search function to locate it. When you open it, use the Mode dropdown menu to select the type of snip you would like to use. You can choose a free-form, rectangular, window, or full-screen snip. If you press the New button, your screen will freeze, and you can use your mouse to create the screenshot. The Delay button allows you to set a timer for the screenshot. Once you take your screenshot, click File and then Save As to save the image.
The power of the Game Bar
As part of their push to support gaming, Microsoft also includes the Game Bar with Windows 10. This versatile tool allows you to take screenshots, record gameplay, and even live stream. By default, the game bar launches when you launch a game, though it may not be visible. Press the Windows key + G to open the Game Bar overlay. Click the camera icon in the Widget menu or use the shortcut Windows key + Alt + PrtScn to take a screenshot. All files created using the Game Bar are saved in the “Captures” subfolder within the “Videos” folder.
OneLaunch streamlines the process
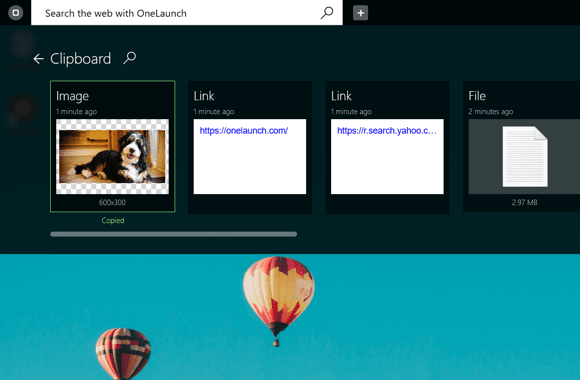
OneLaunch, in particular, makes it incredibly easy to take and manage your screenshots. You can take screenshots right from your OneLaunch dock. Just click the scissor icon in your OneLaunch dock to quickly take and save screenshots. Additionally, if you use any of the keyboard shortcuts to take a screenshot, you will see it in the clipboard history panel on OneLaunch. To access this, simply click the Clipboard icon on the dashboard. Click any item in your clipboard to copy it again.
Thanks to Windows 10 and OneLaunch, it has never been easier to take a screenshot. You can then send these screenshots in emails, save them to other devices, or even edit them to suit your needs. Regardless of your goal, knowing how to take a screenshot is a useful and necessary skill in the modern tech world.


 Share On Twitter